使用hexo搭建博客
使用hexo搭建博客及部署到代码托管平台
前期准备
- 下载node.js https://nodejs.org/en/
- 下载git https://git-scm.com/
hexo安装与初始化
官方中文文档 https://hexo.io/zh-cn/
1 | npm install hexo-cli -g //全局安装 |
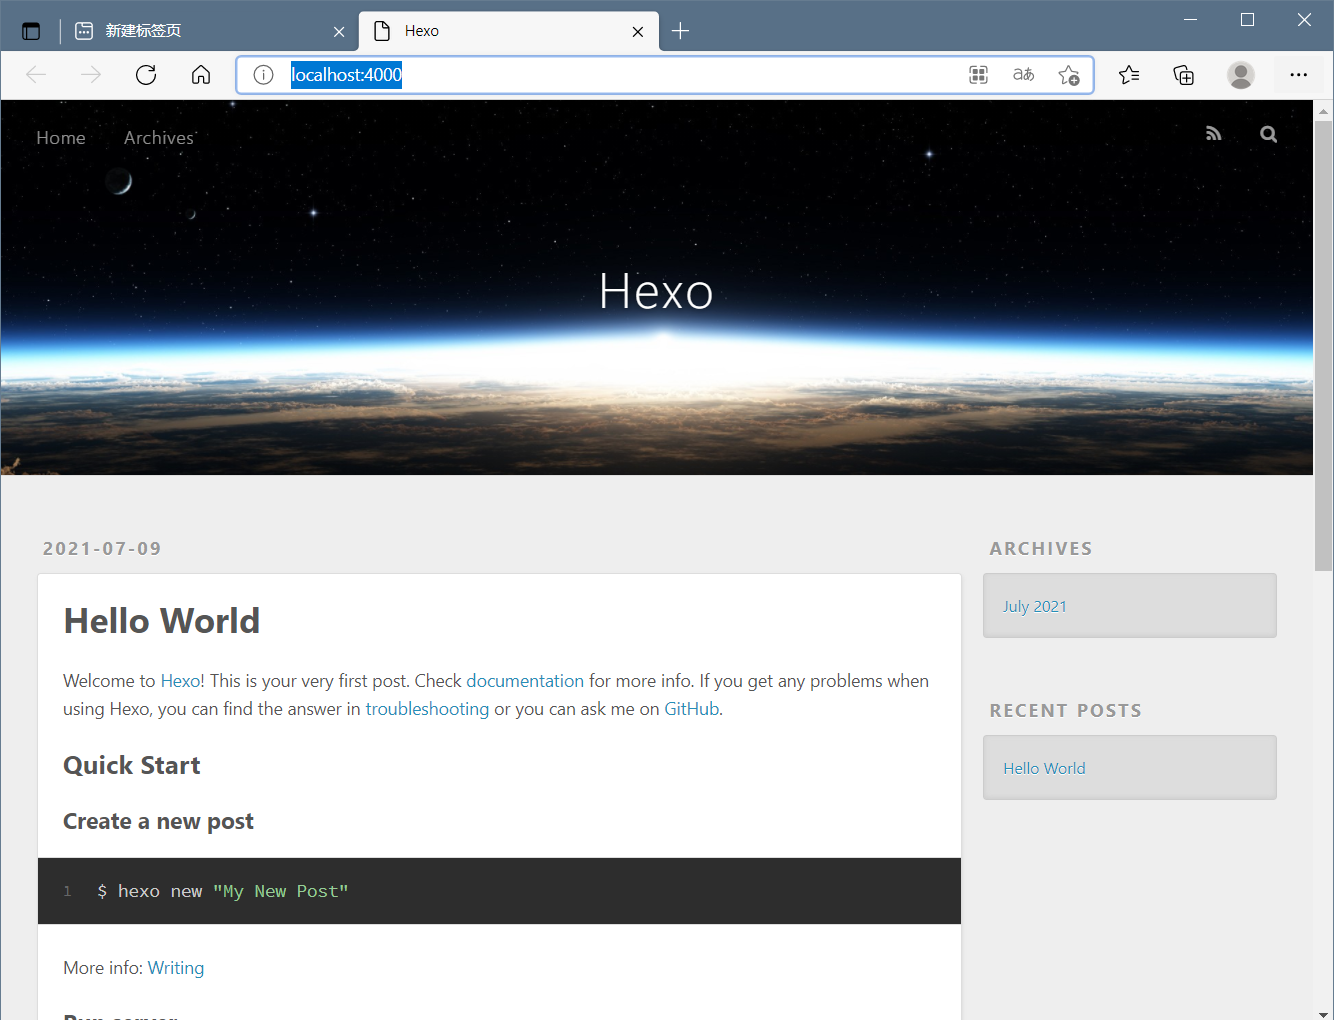
至此你就拥有了一个简陋的本地博客

部署到代码托管平台
创建一个GitHub仓库
名字必须是 [你的用户名].github.io
如果您的账户名是limedroid,则需要创建一个limedroid.github.io的public仓库.
安装 hexo-deployer-git
1 | npm install hexo-deployer-git --save |
网站配置git
在网站的_config.yml中配置deploy
1 | deploy: |
ssh配置
首次使用git需要
1 | git config --global user.name "godweiyang" |
输入命令
1 | ssh-keygen -t rsa -C "邮箱"ssh-keygen |
找到C:\用户\[用户名].ssh中的id_rsa.pub
复制其中的内容到GitHub的settings->SSH and GPG keys->new ssh key->key
title随便输入,点击Add ssh key
这样就部署到GitHub了,gitee原理操作类似
hexo的日常使用命令
1 | hexo g //渲染静态文件 |
关于主题
你可以去官网https://hexo.io/themes/ 寻找自己喜欢的主题,也可以使用我正在使用的主题https://github.com/jerryc127/hexo-theme-butterfly ,无论什么主题,都有相应文档供你参考配置
遇到的那些坑
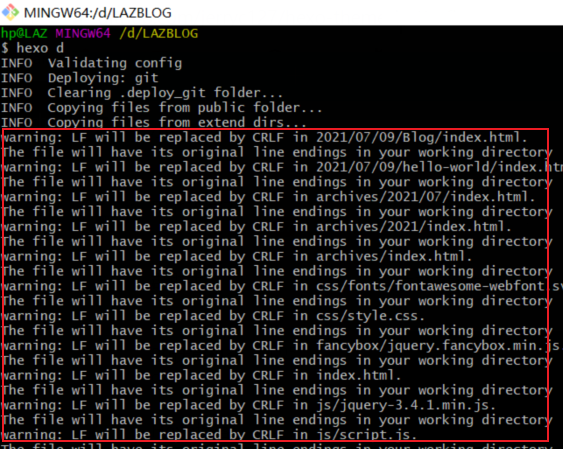
- 如果遇到这样的报错

你可以尝试输入此代码
1 | git config --global core.autocrlf false |
写文章时需要注意什么

每个属性冒号后面要有空格
本博客所有文章除特别声明外,均采用 CC BY-NC-SA 4.0 许可协议。转载请注明来自 🔨のblog!
评论


